I love the openness of choice, but once and a while, I like to offer a step by step project. Kids like it too. I think it's important to provide as many experiences to our students as we can so sometimes that means a more uniformed lesson... like this one.
I started this lesson with simple instructions of how to draw a flower. This was exciting for my 1st-grade class because they felt like I was giving them the secrets to creation. Many of the kids adapted and changed to create their own version of what I was showing them. All was fine with me. Here is the video of how I taught them how to create flowers.
After drawing, the students were instructed to 'bubble cut' the flowers. This means they leave a little space around the lines so they don't end up cutting off some of the details as you see in the tulip above.
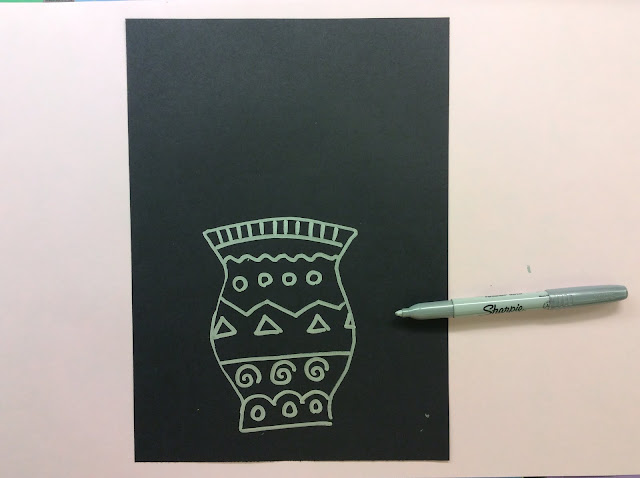
I used a silver sharpie for on black paper for the vase. These markers have been in my room since I started... That was 4 years ago. I don't pull them out often, but they have continued to work every time. It makes me think they are worth the price.
Students used silver sharpie to trace a vase 'two fingers up from the bottom of the page'.
Draw 5 lines from side to side on the vase. They can be the same kind of line or different from each other.
Add Shapes and Lines to make designs.
Draw the table line and sign your name on the bottom.


No comments:
Post a Comment